

So, you’ve just created a Playbook account?
Congratulations, and welcome to an easier world!
Unlike traditional file storage, Playbook was specifically created for creatives by creatives. It puts digital assets and team collaboration at the heart of every function, making the process of creating, storing, accessing, and sharing files that much more efficient and presentable.
This guide will walk you through the process of setting up your Playbook, from creating boards to uploading files to importing assets from other cloud platforms. Let’s jump right in.
Creating boards

In Playbook, a board is like the dynamic folder that you use on your desktop — you can add different types of files to it from various sources. If you’re looking to set up a portfolio, a board will act as the workspace where you organize the work you want to present in the portfolio.
To create a board:
Step 1: Click on (+) next to “Boards” in the left panel.
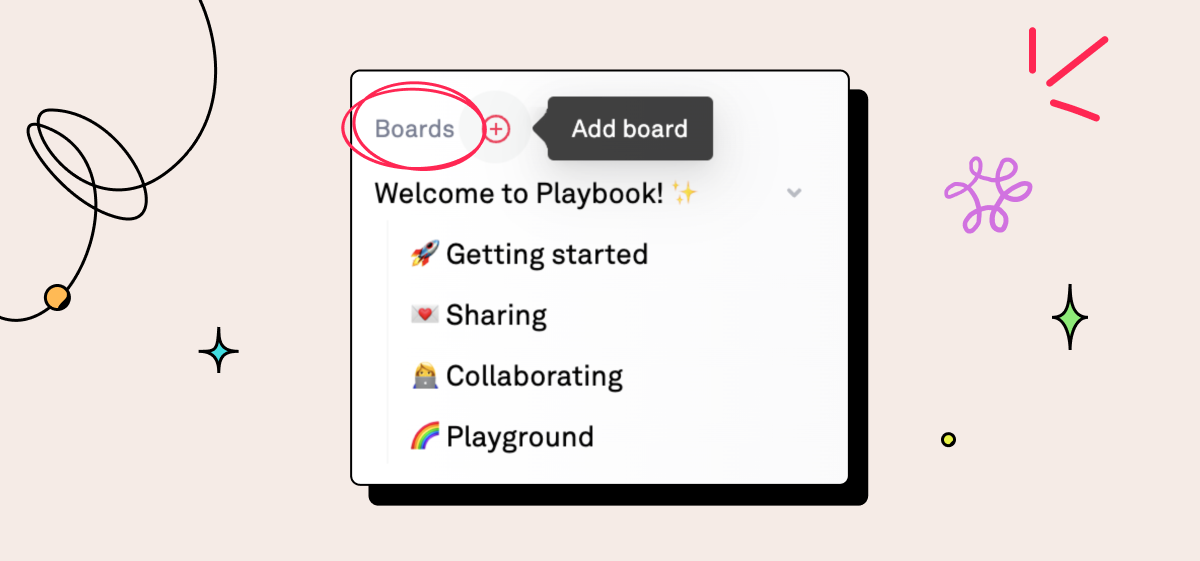
Step 2: Once you’ve created the board, go on and name it.

You also have the option to customize your board with a board description and sub-boards.
A board description is useful for communicating what your board is all about, particularly if you’re collaborating with others. For example, you can use it to add notes, labels, and instructions that will help the people you’re working with (or even a client) to navigate your playbook.
To add a board description, simply click on the gear icon and select “Add board description.”
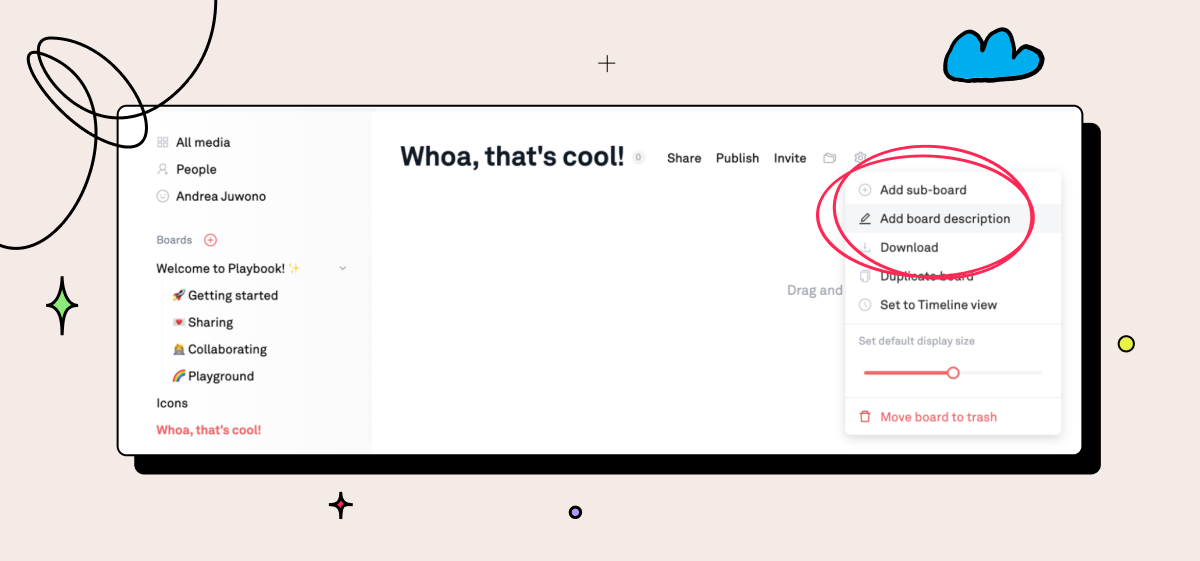
A sub-board is basically a folder within the main board folder. To create one, click on the gear icon and select “Add sub-board.” Alternatively, you can click on (+) Add and select “New sub-board.”

You can manage how you view your sub-boards on the left panel.
Uploading files and folders
Playbook makes it super easy to upload files:
Step 1: All you have to do is click on (+) Add and select “Upload” or drag and drop the files from your device.
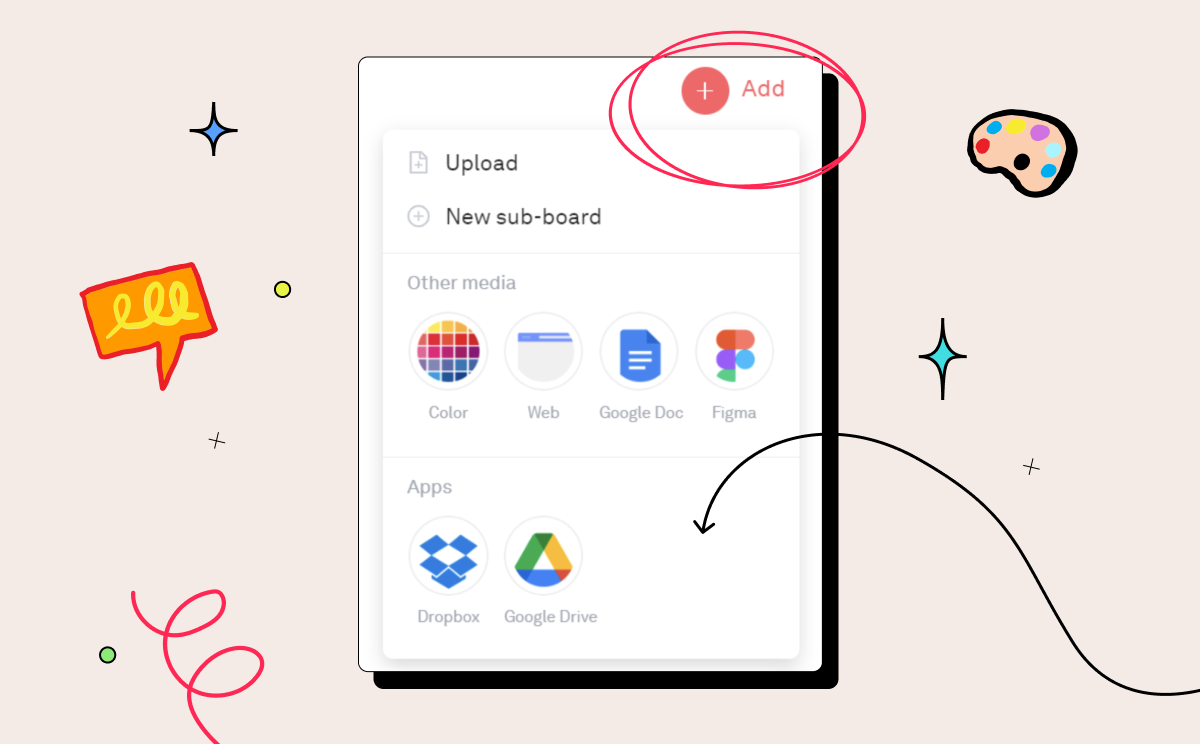
Step 2: Check the progress of your upload in the status popup.

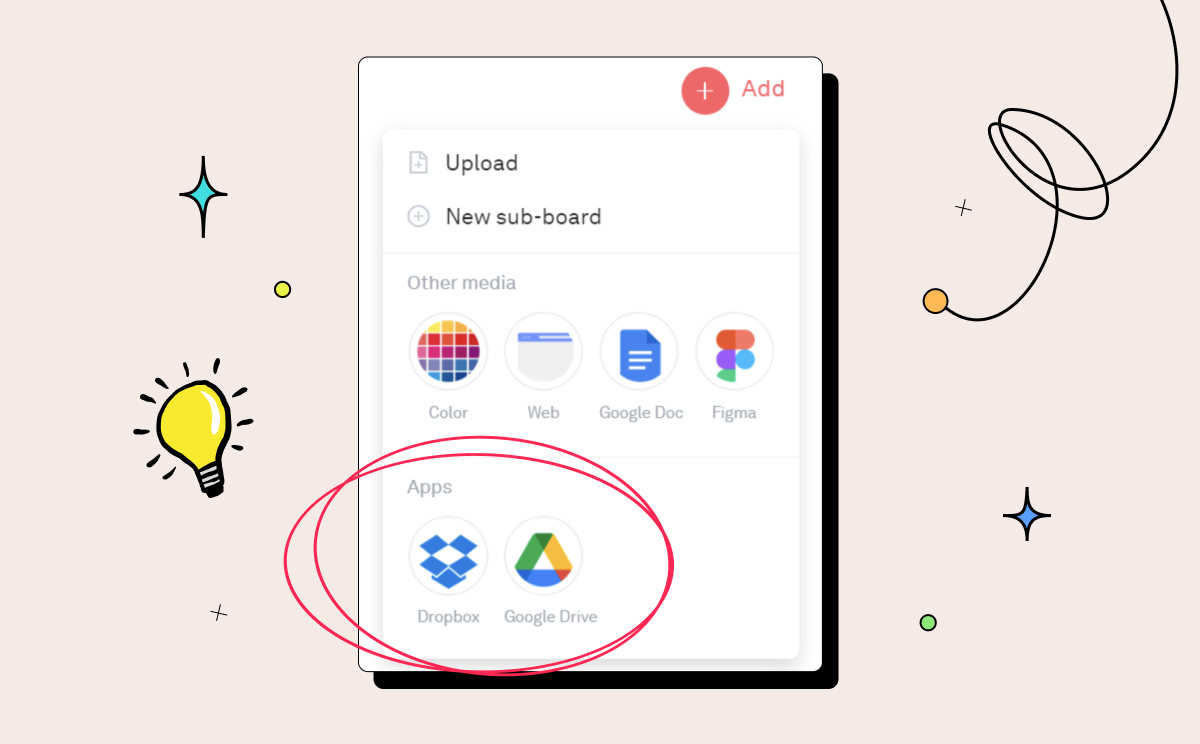
And forget being limited to uploading just docs and images. Playbook lets you add a wide range of media types, including Figma files, Google Docs, web links, and colors.
Importing files and folders

Chief among the limitations of traditional cloud storage is the somewhat arbitrary and nested folder-subfolder system, which is non-visual and makes collaboration quite tricky.
With Playbook, you can browse files visually, making it not only easier and faster to find files, but also simpler to collaborate.
The good news is that switching from Google Drive or Dropbox to Playbook is a breeze just like using Playbook.
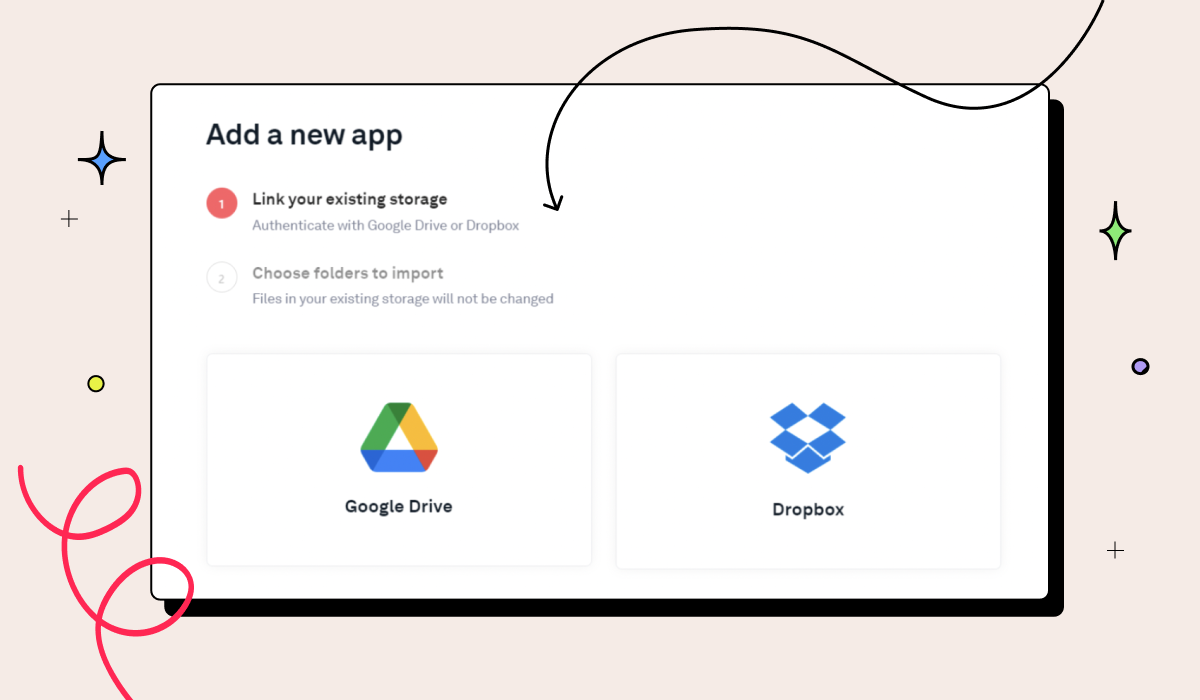
Step 1: Click on (+) Add. To transfer a file from Dropbox, click on the Dropbox icon. Similarly, click on the Google Drive icon to import a file from Google Drive.
Step 2: Authenticate with Google Drive or Dropbox. This step will allow you to access your Dropbox or Google Drive files.
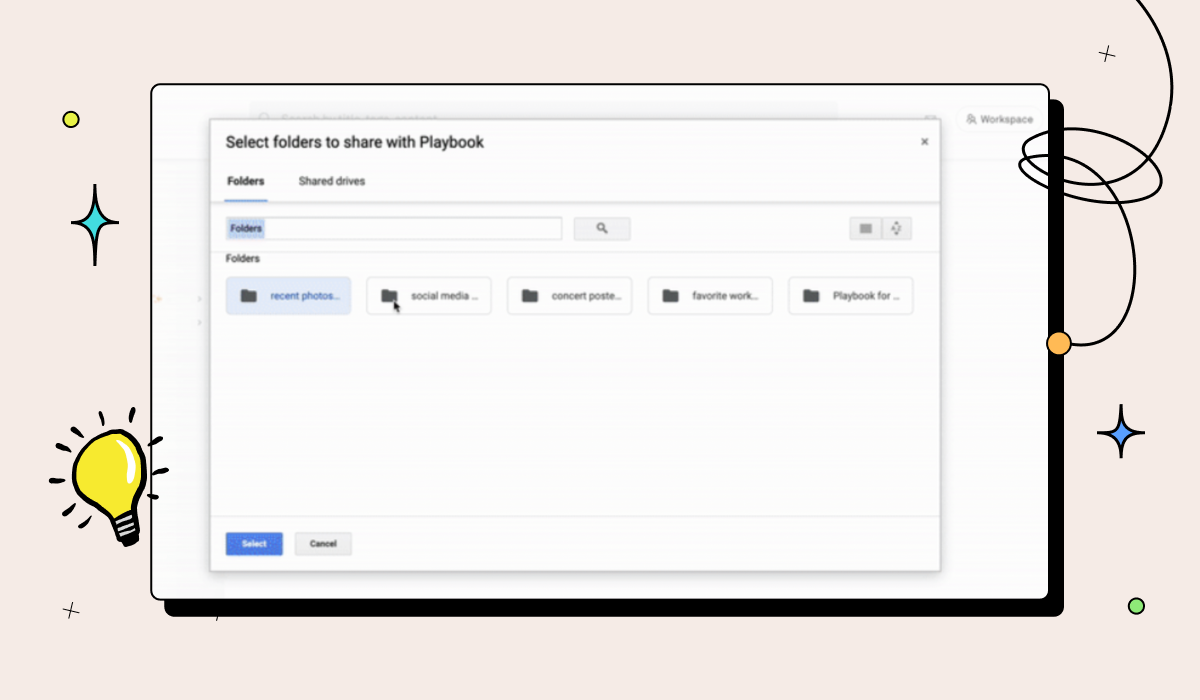
Step 3: Select the file(s) or folder(s) you want to import, then sit back and watch the magic happen.
Step 4: Check the progress of your upload in the status popup.
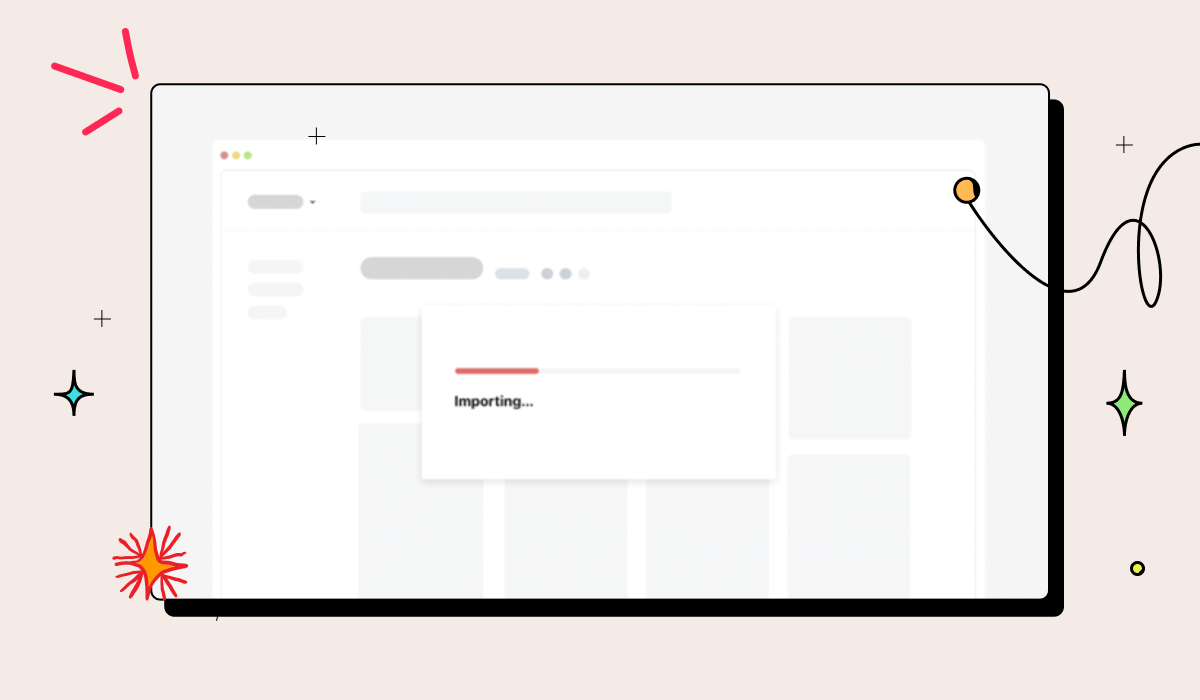
Once your file(s) have been uploaded, you can start organizing and sharing them the Playbook way, aka the neat, tidy, organized, and beautiful way!
Inviting people to your playbook
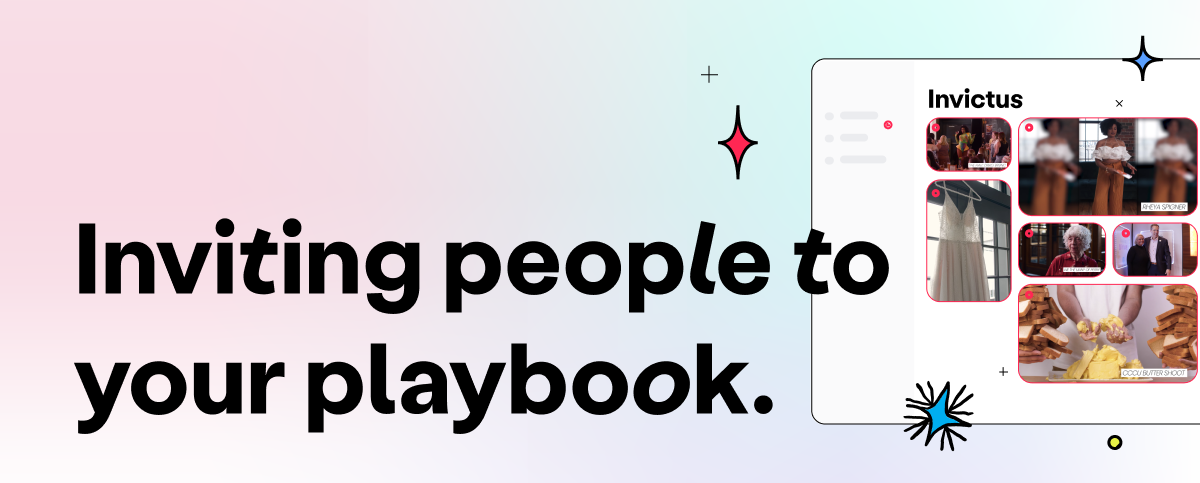
Working with others is a big part of a creative’s work. Playbook understands this very well hence its focus on team collaboration.
You can invite other people to your playbook using the following steps:
Step 1: Navigate to “People” in the left panel.
Step 2: Invite a person by entering their email under “Invite by email.”
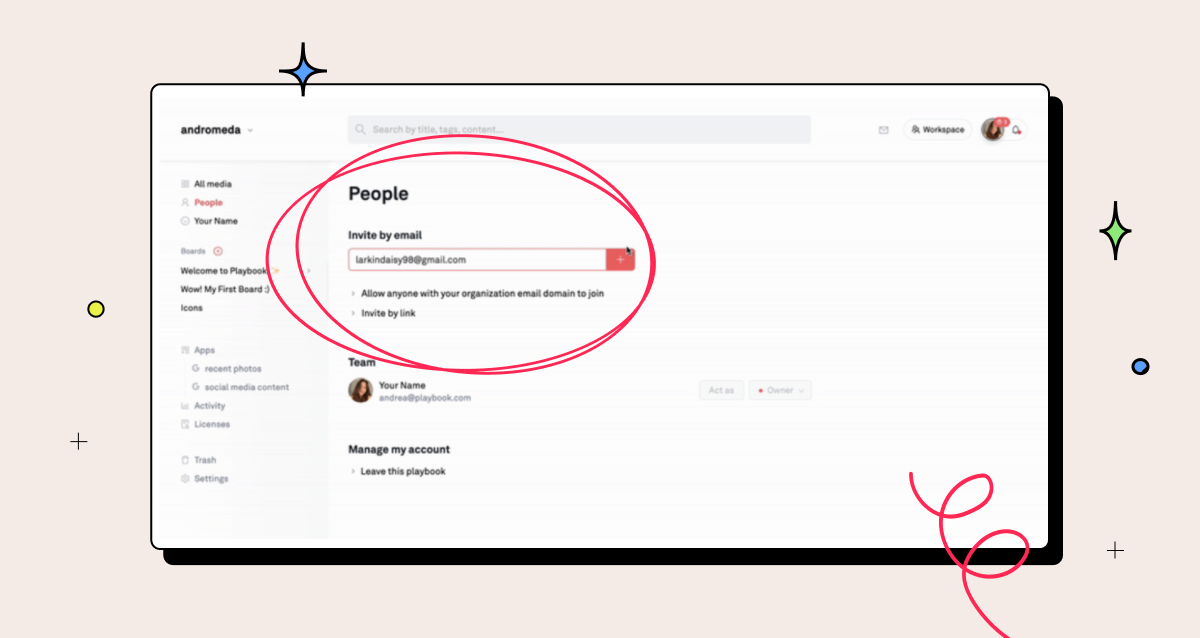
Step 3: Send the invite!
You can also invite people by link or allow anyone with your organization email domain to join. However, do keep in mind that inviting people to your playbook is not the same as inviting them to your board. This brings us to the next part…
Inviting people to your board
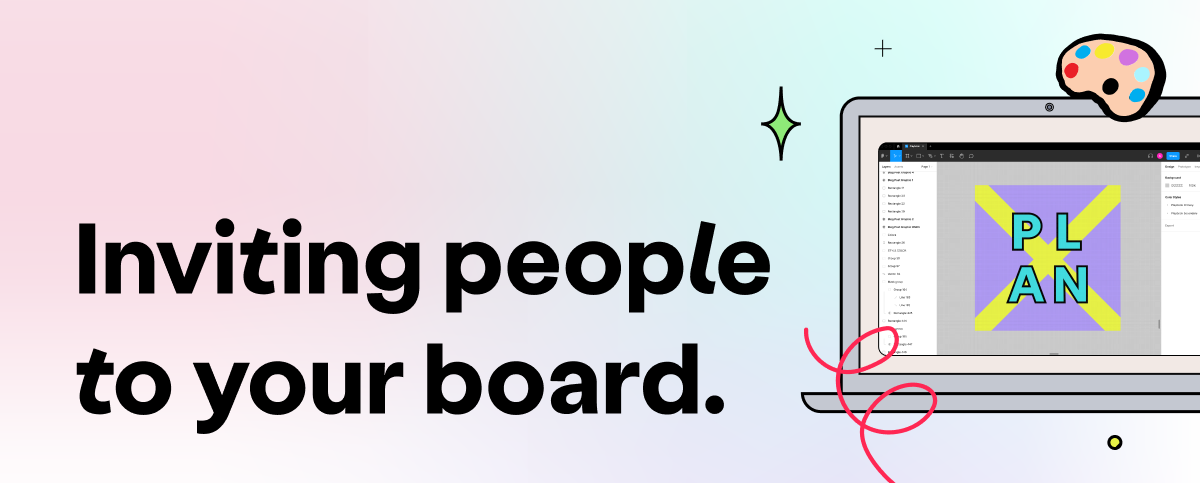
To invite a person to a board:
Step 1: Navigate to the board that you want to collaborate on.
Step 2: Click on “Share.”

Step 3: Invite by entering the collaborator’s email under “Invite others.”
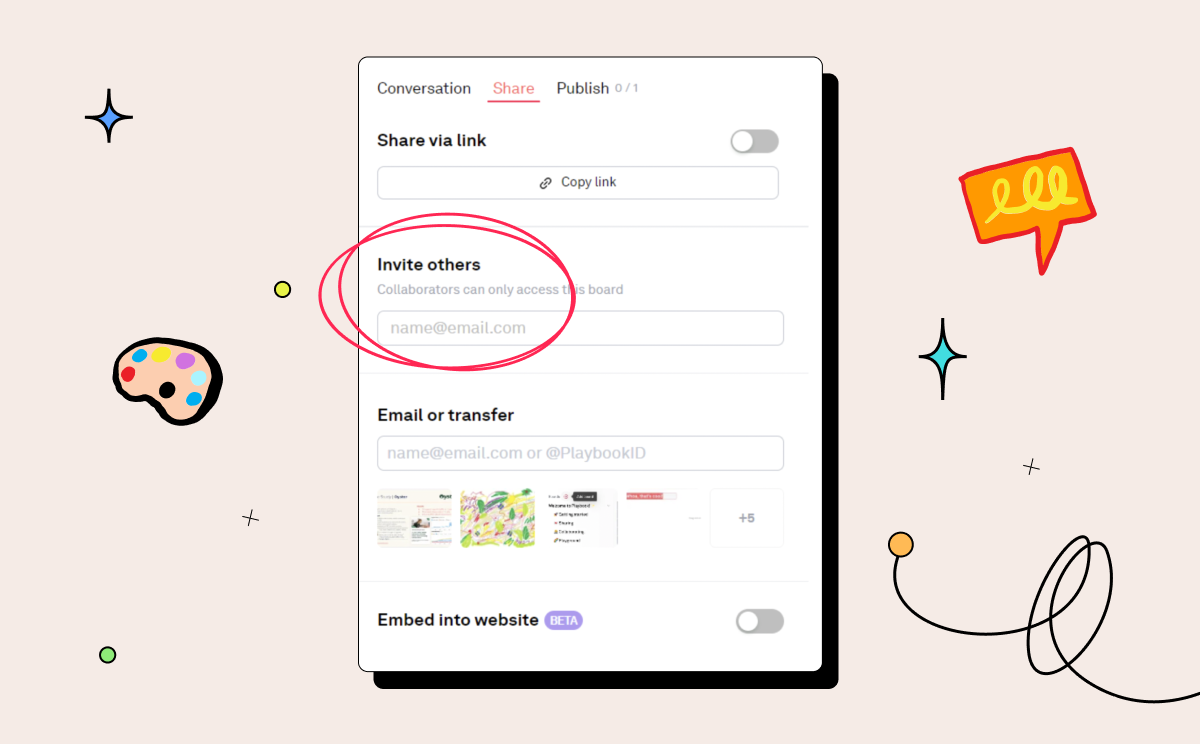
Step 4: Invite is sent! You’ll be notified when they join.
Favoriting files
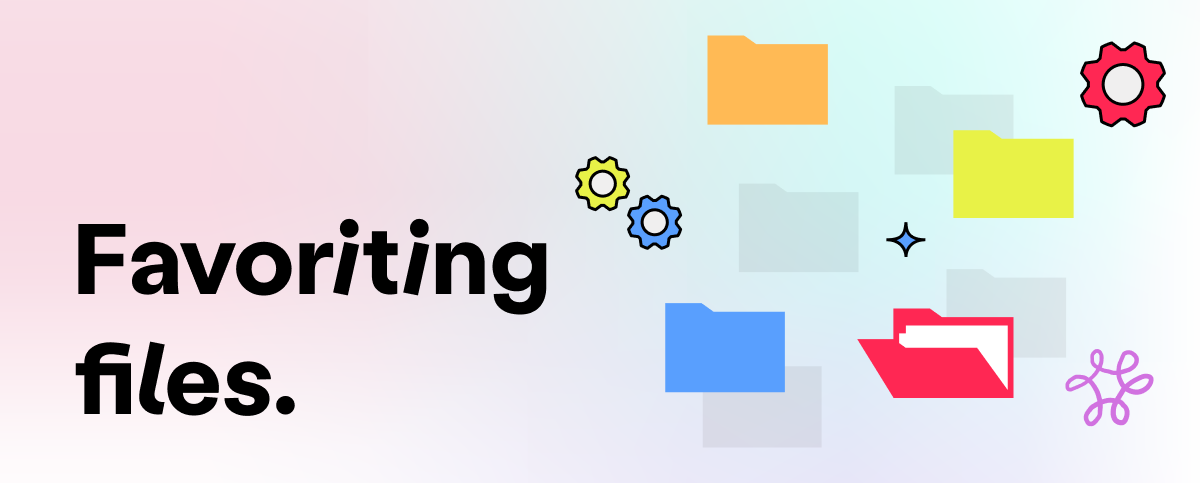
Favoriting a file is similar to liking it. This is a great feature to use, particularly when you’re collaborating with other people and you want to appreciate their work.
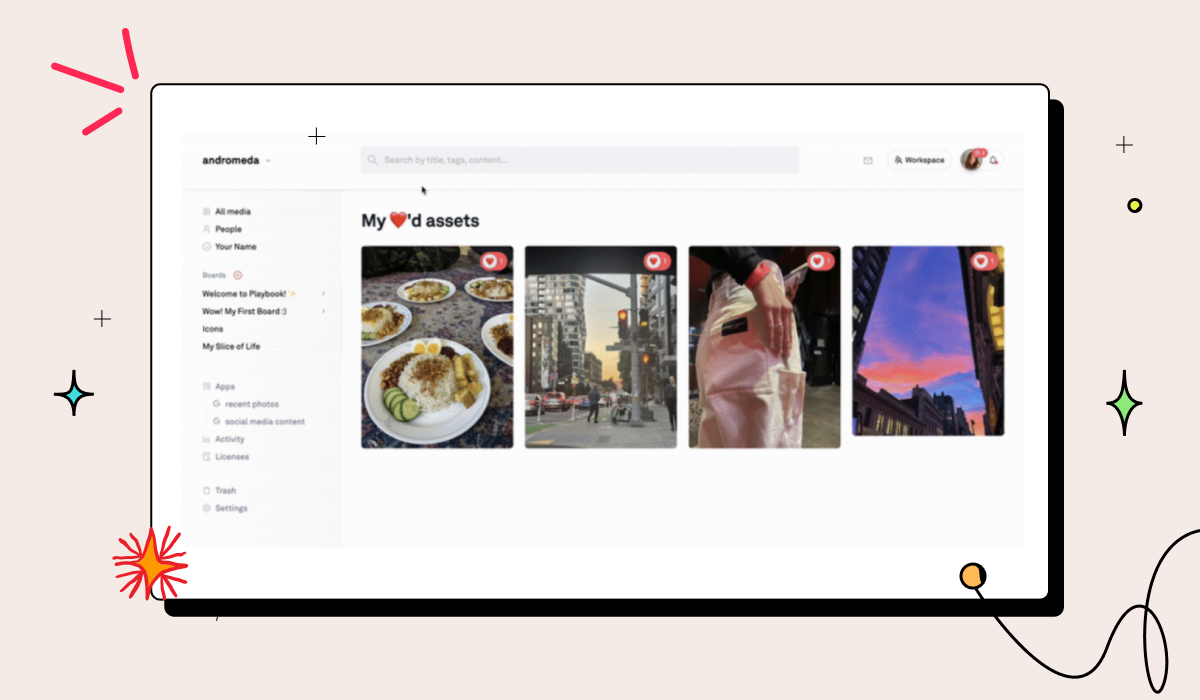
Favoriting also doubles as a bookmarking feature. You’ll be able to quickly access all your favorite files by clicking on your name.
How to favorite a file:Step 1: Select ❤️ in the top right corner of an asset in a board.
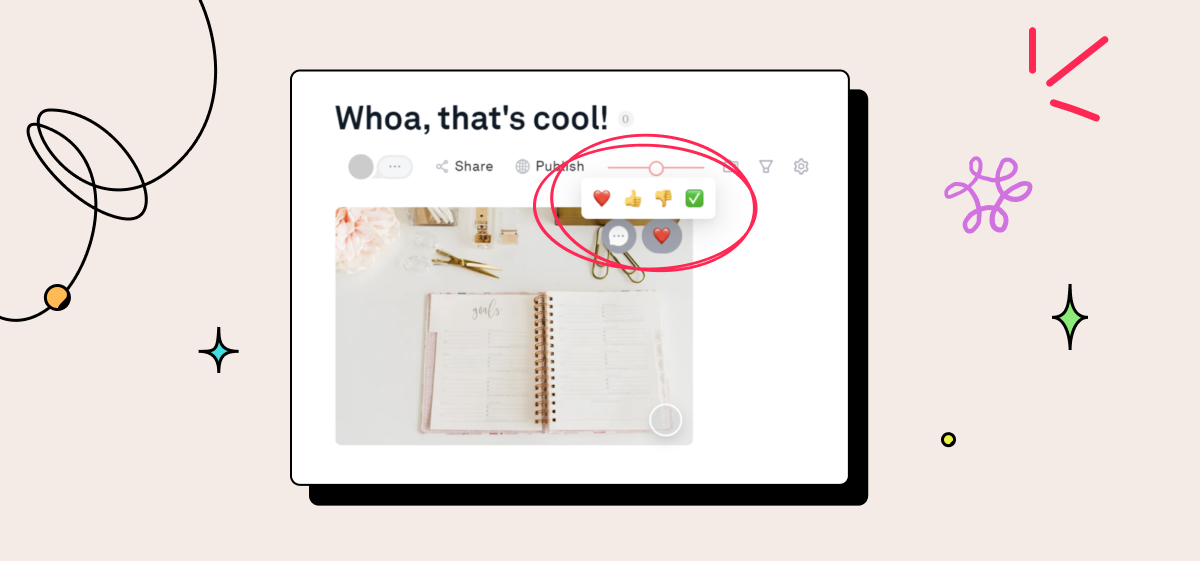
Step 2: Navigate to “Your name” in the left nav and see all your favorited files.
Commenting

With the collaborative nature of creative work comes the need for constructive, articulate, and courteous feedback.
Playbook particularly values this part of the creative process and so you’ll find that the platform allows you not only to comment on specific assets in a board, but to comment on parts of the asset — you can point out exactly what about a specific design you appreciate or need changed.
To comment:
Step 1: Click the comment icon in the top right corner of an asset in a board.
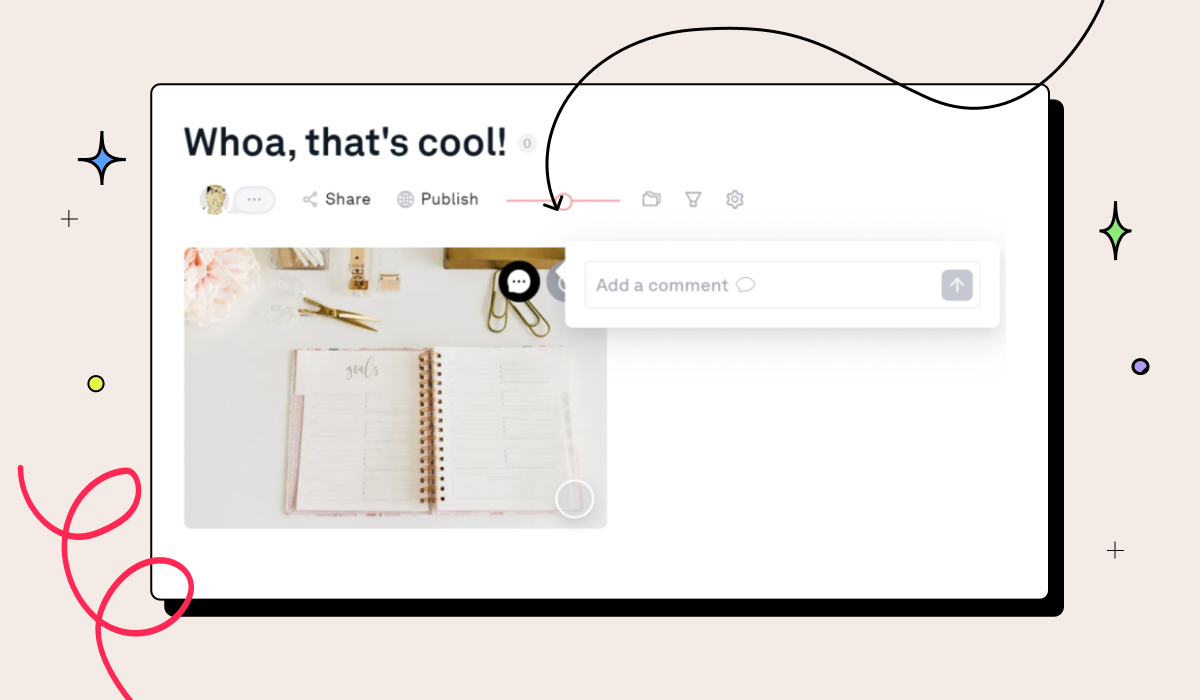
To comment on a specific part of the asset, open the asset and select the comment feature on the right-hand navigation.
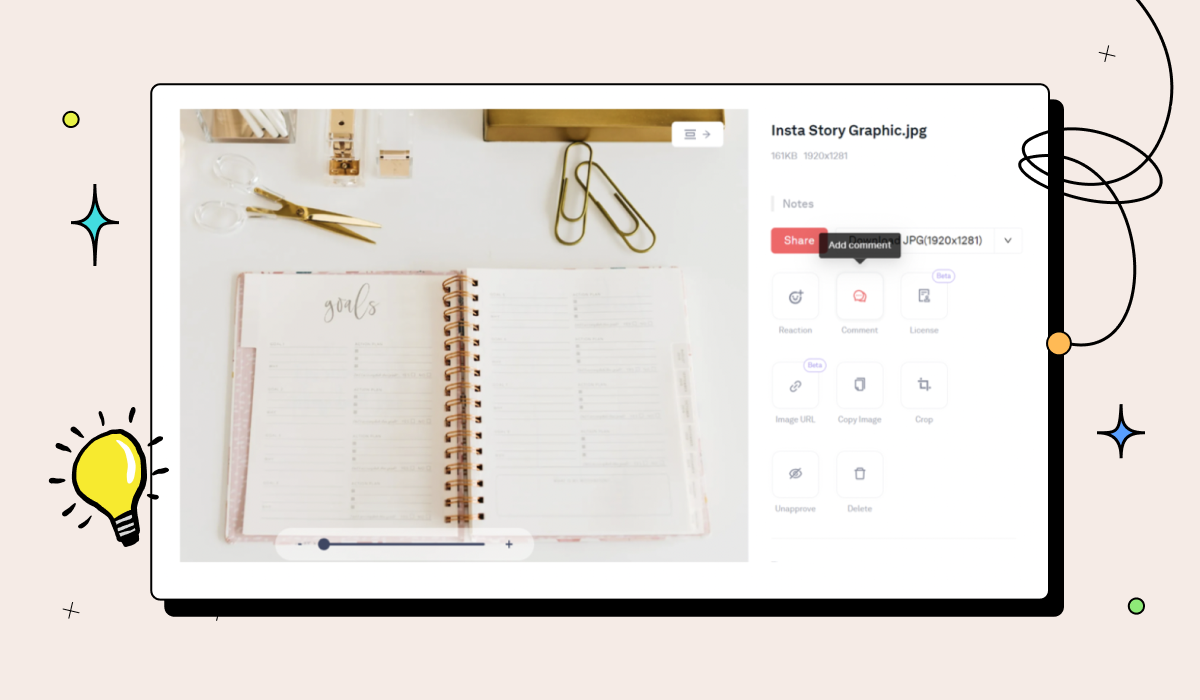
Step 2: Type in your comment.
Moreover, you can use "@" to mention someone who has access to the playbook you’re adding comments to and ":" to add emojis!
Getting started with Playbook
We’re glad to have you here on Playbook. Here’s to a great journey filled with lots of clutter-free storage, quick and visual file access, beautiful asset organization, easy file sharing, and seamless collaboration!
Feel free to check out our individual How-to guides anytime you need a quick refresher on specific processes.