
Some of the world’s most iconic designs are formed of merged shapes — think about the Olympic Rings logo, with its merged circles, the Mercedes logo, which pairs a circle with a three-pointed triangle, and pretty much all your favorite cartoon characters, who are mostly combinations of circles and triangles.
Merging basic shapes is a simple yet effective way to create more complex objects that would be difficult or time-consuming to draw by hand. Combining shapes allows you to create intricate, detailed designs quickly and easily — like using a couple of rectangles and a few circles to design a wine bottle.
Adobe Illustrator is one of the most popular tools designers use for merging shapes, as it offers various ways to combine and edit shapes to make new and original designs.
In this tutorial, we’ll walk you through three easy ways to merge shapes in illustrator, plus a few tips and tricks that will help you create stand-out designs. You can also save your merged shapes in Playbook for free — by storing them in boards, you'll always have easy access to your designs.

What are the best techniques for merging shapes in Illustrator?
With Illustrator, you can use different methods to combine the same shapes and get different effects, depending on what kind of artwork you’re making.
Three of the most popular are:
- The Shape Builder Tool
- Pathfinder Effects
- Compound Shapes
Below, you’ll find a step-by-step guide to using all three — plus a bonus technique.
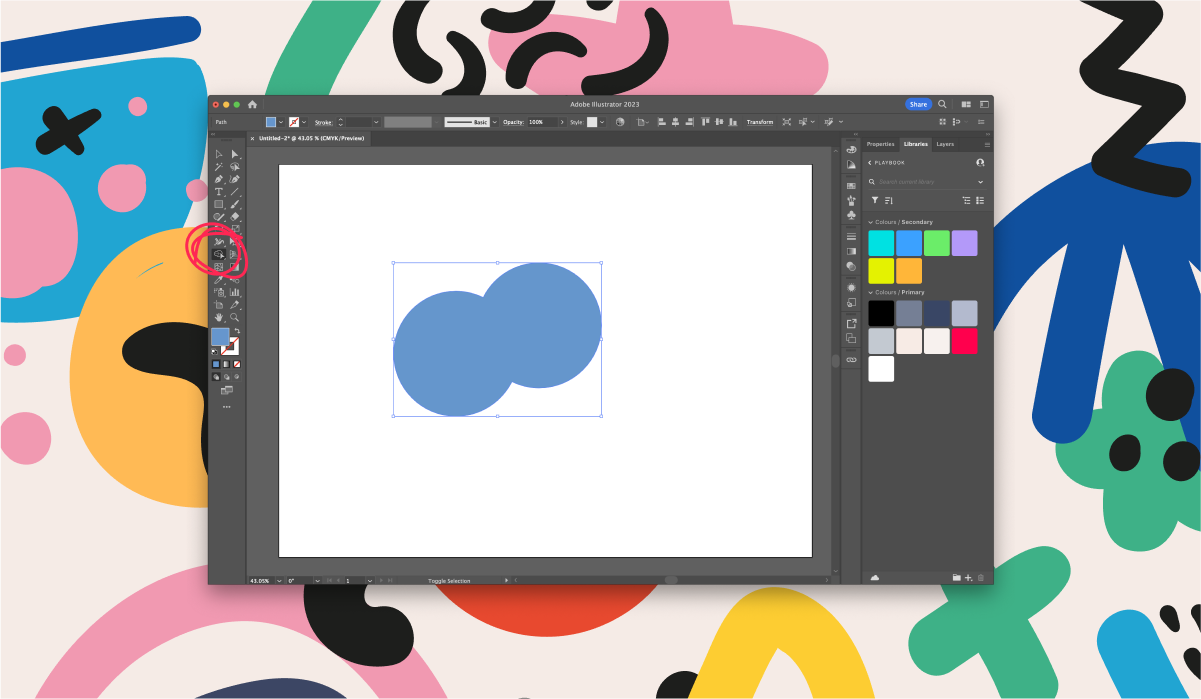
1. Using the Shape Builder Tool
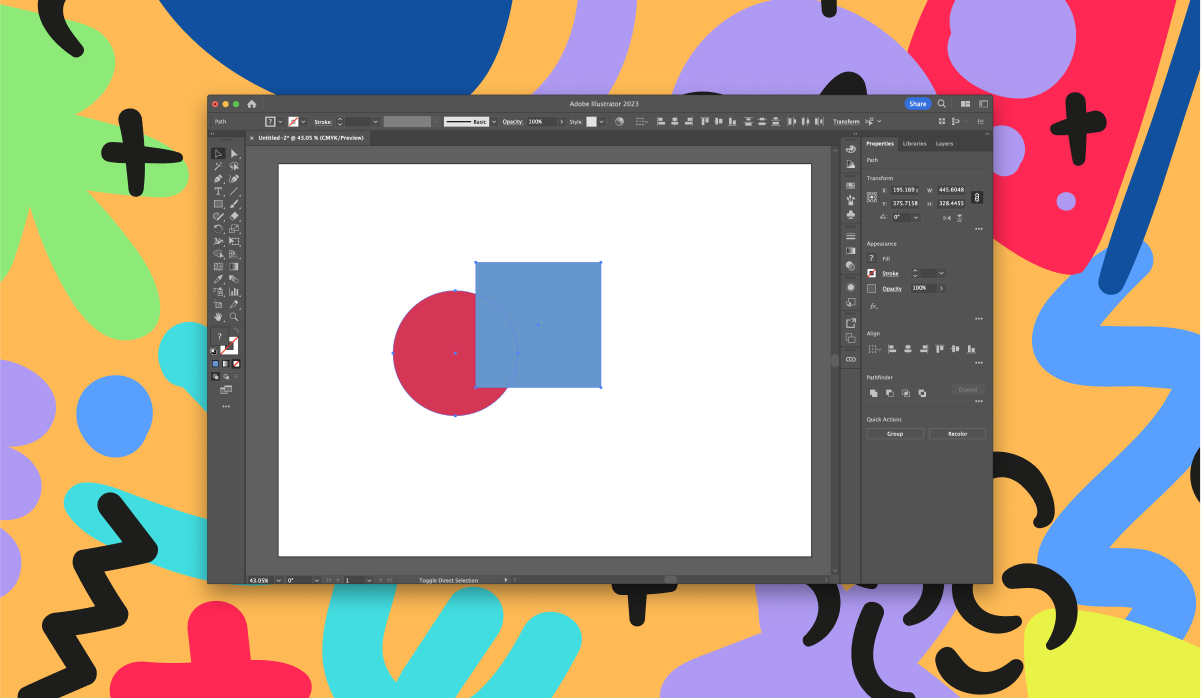
The Shape Builder tool is an interactive tool for combining and erasing simpler shapes to create complex designs — basically, you just click and drag to connect the shapes you want.
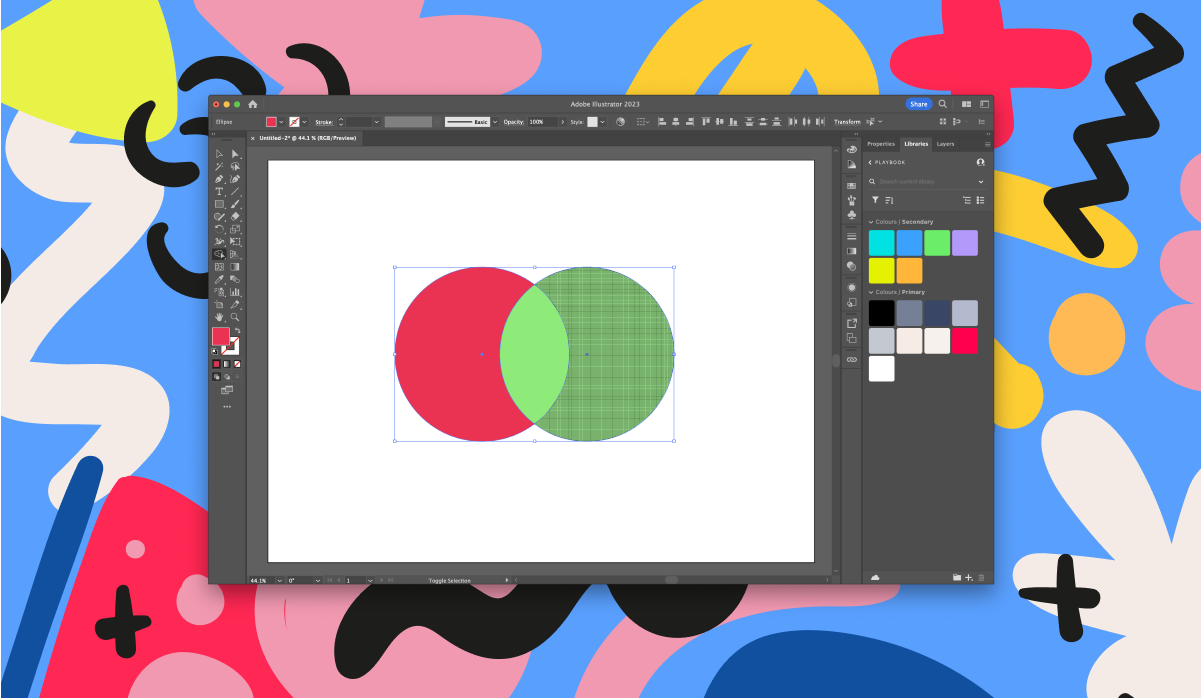
The Shape Builder is a popular tool for creating logos and icons. However, it’s important to note that it only works with overlapping shapes — in other words, the shapes have to touch other shapes, or at least align with the edges.
To combine shapes using this tool, use the following steps:
Step 1: Open Adobe Illustrator and create or import the objects you want to combine.
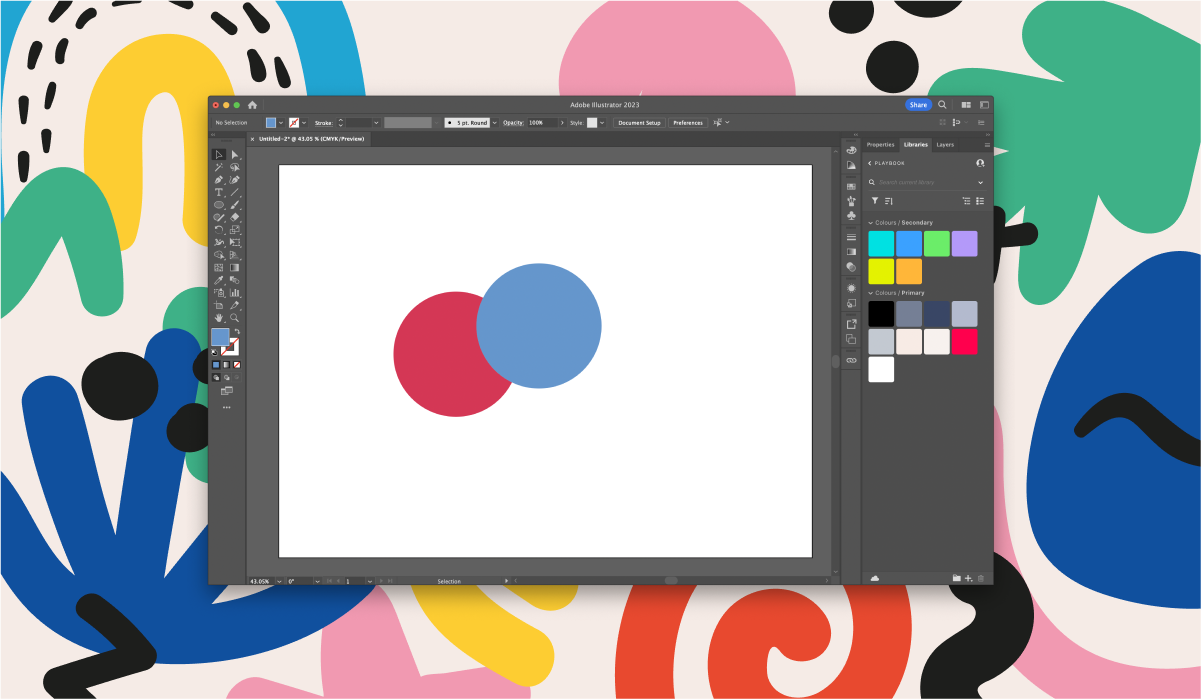
Step 2: Use the Selection tool to select the objects you want to merge.
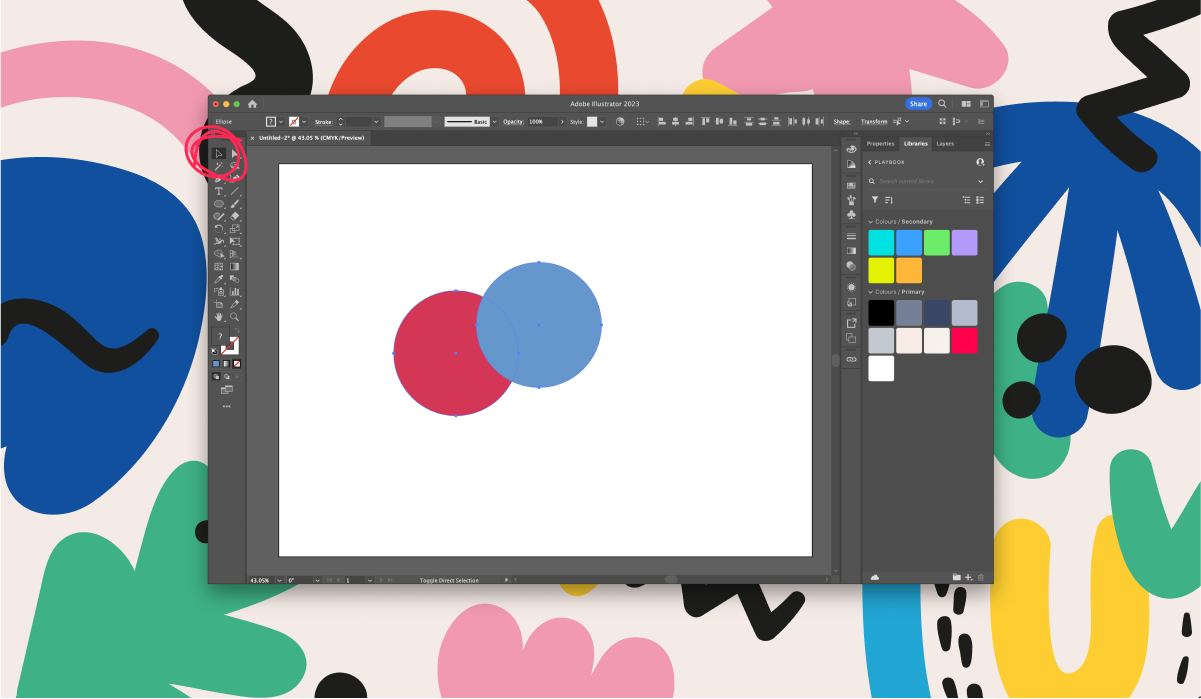
Step 3: Select the Shape Builder tool (or use the keyboard shortcut Shift + M). Click and drag through the shapes you want to merge. This will highlight the areas that are covered by the Shape Builder tool.
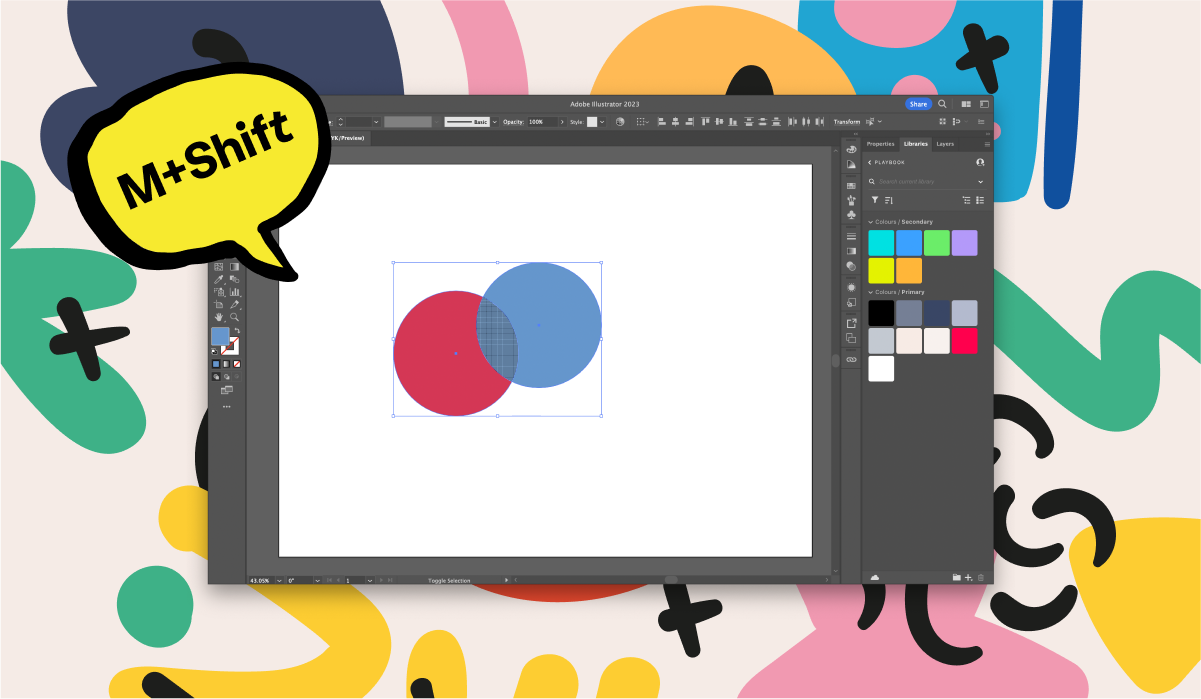
Step 4: When you’ve covered all the areas you want to combine, release the mouse button. The Shape Builder tool will automatically merge the selected objects together.
Step 5: Save your shapes to a Playbook board. Boards are an easy and convenient way to store and organize your assets, and with Playbook’s visual browsing system, finding the files you’re looking for is a breeze. Create your first Playbook board.

2. Using Pathfinder effects
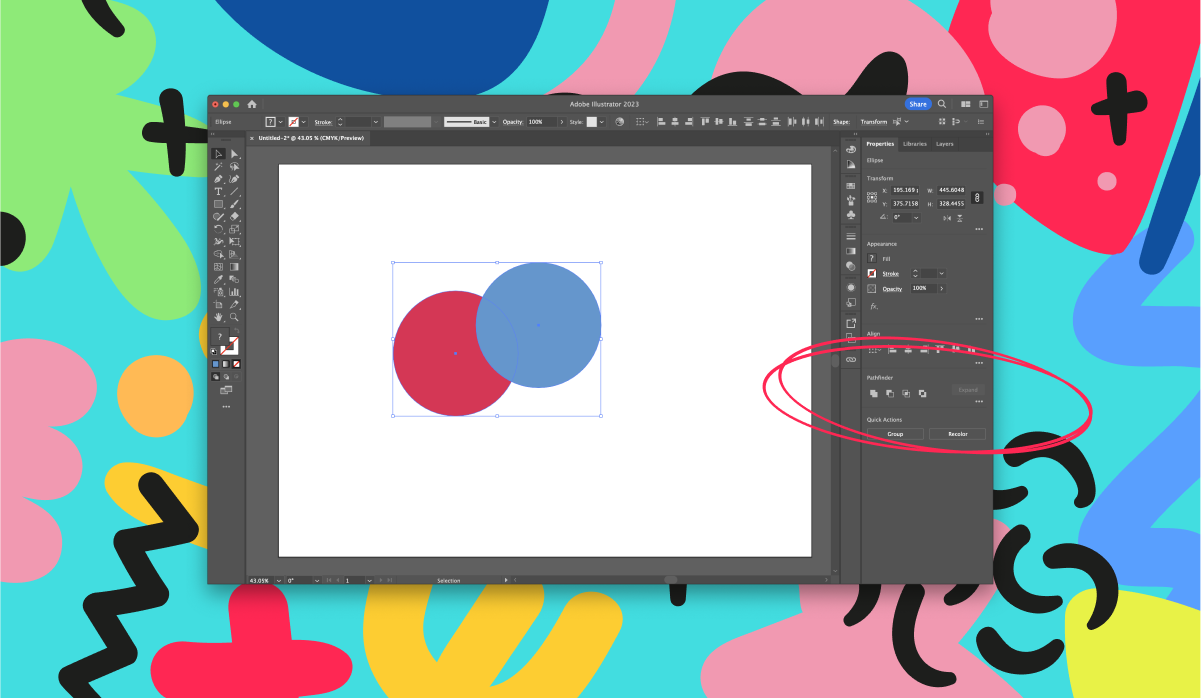
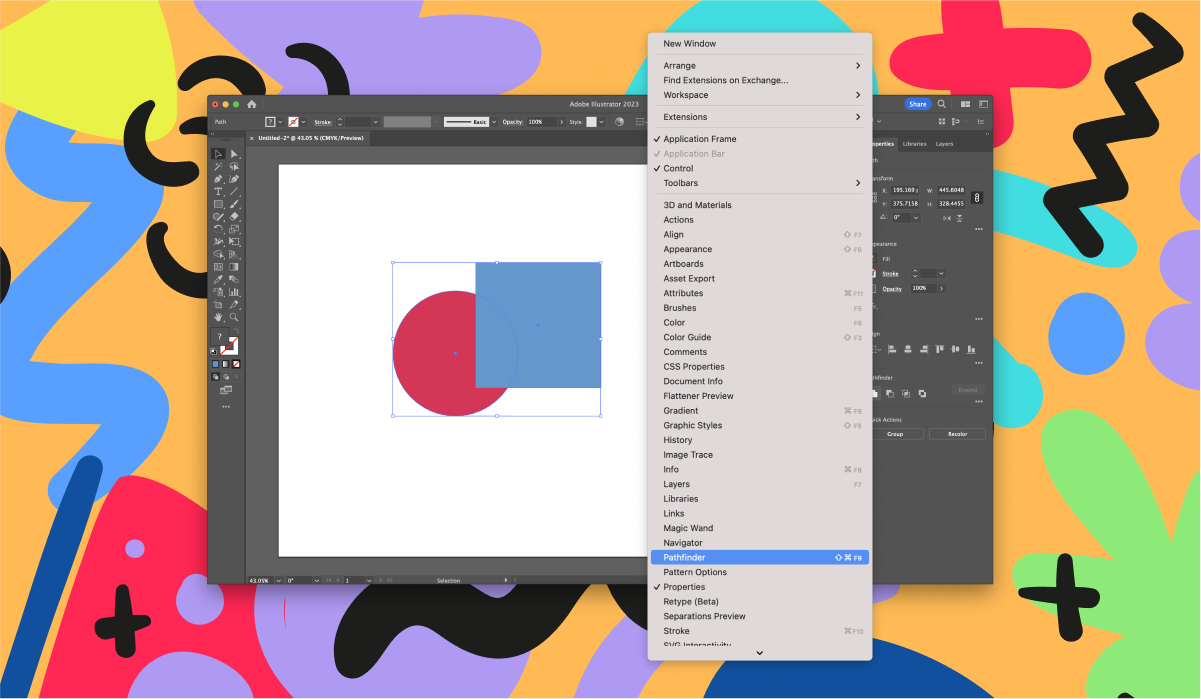
Pathfinder effects let you combine multiple objects using interaction modes, but you can’t edit the interactions between the objects. You won’t see the Pathfinder button in the toolbar — it shows up in the Properties panel when you select the objects you want to combine.
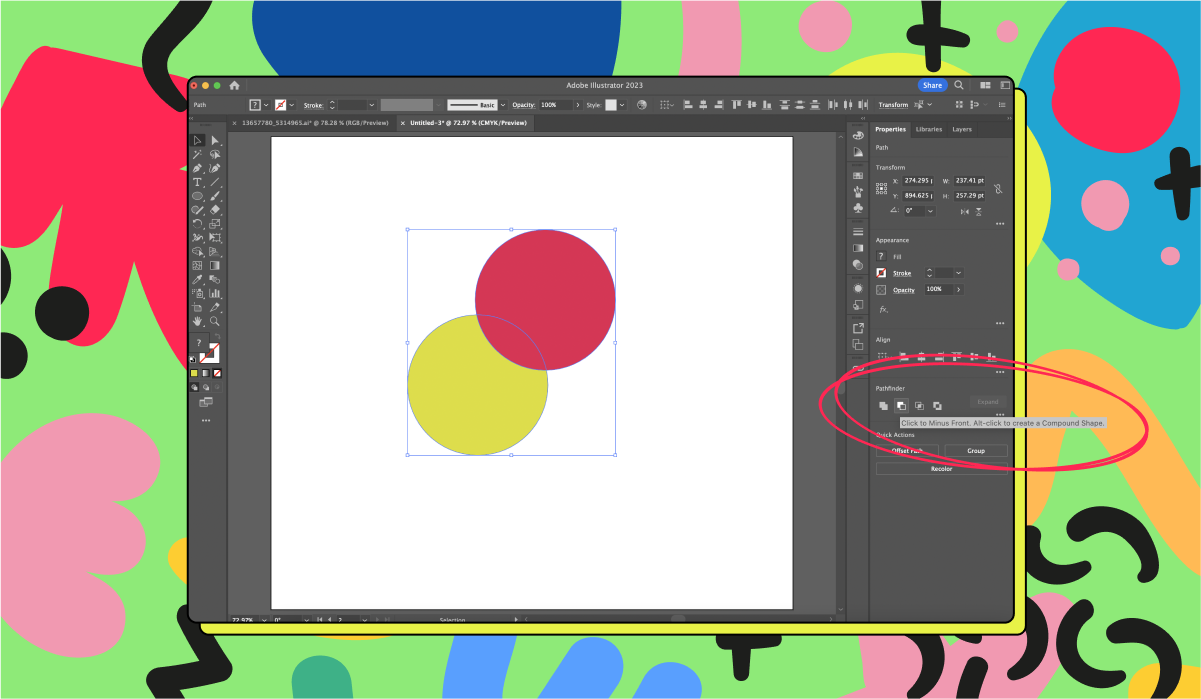
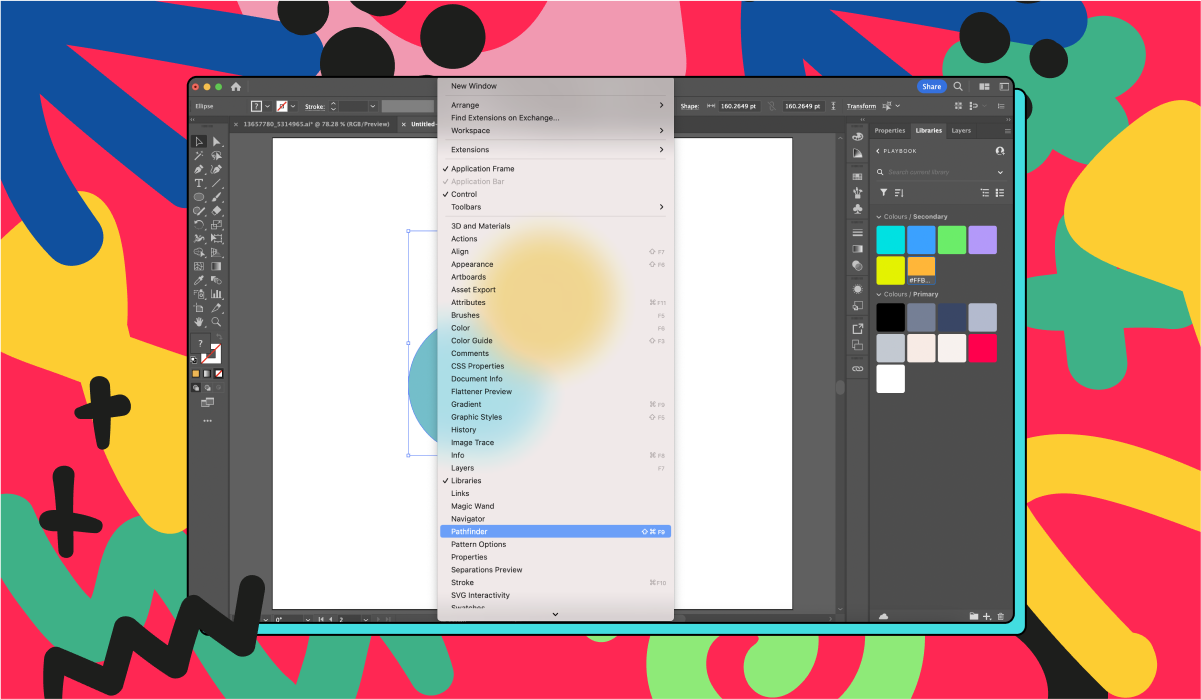
Alternatively, you can go to the overhead menu Window > Pathfinder. Under the Pathfinder panel, you’ll find different options for modifying your objects.
Use the following steps to combine shapes with Pathfinder effects:
Step 1: Select the objects you want to combine.
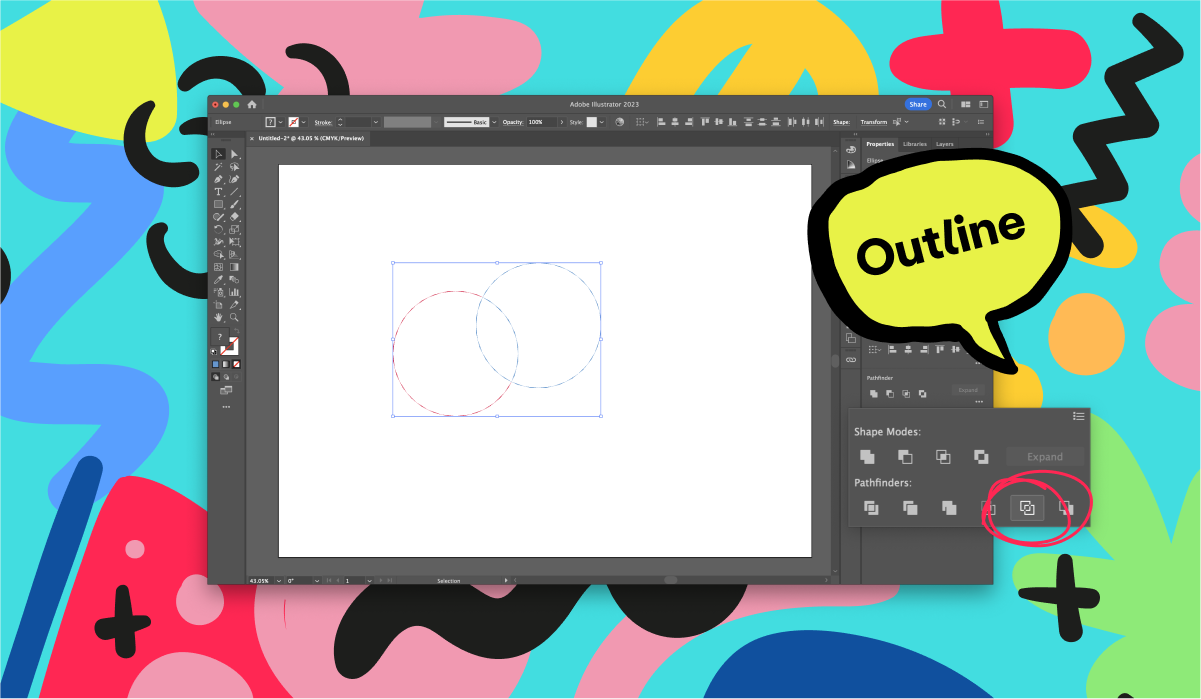
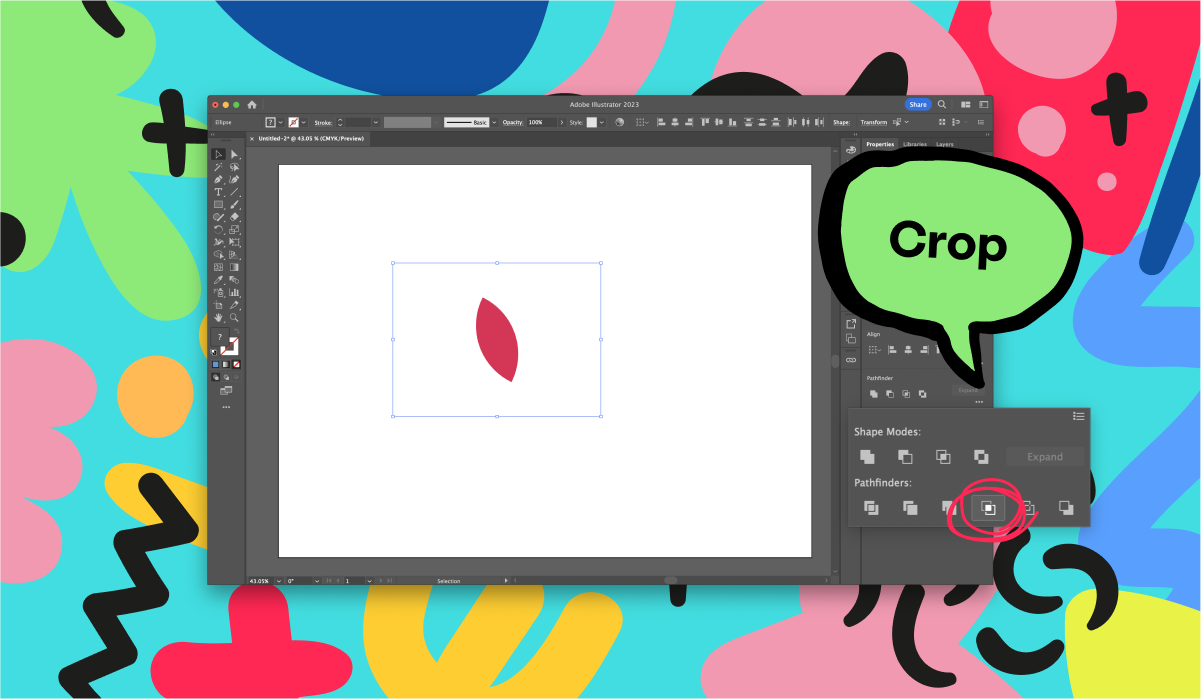
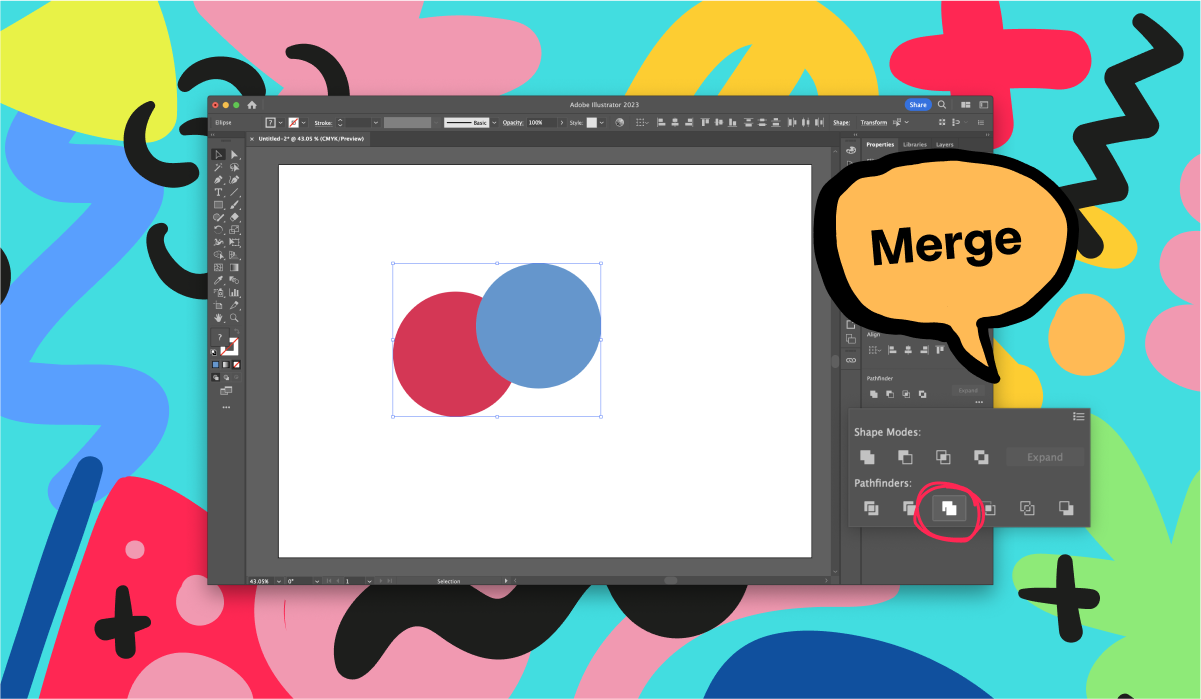
Step 2: Choose the option you want to use to modify your objects. There are many techniques you can experiment with using the Pathfinder tool, including:
Outline: Defines the edges of an object that you just divided.
Crop: Divides objects and removes parts of objects that don’t fit inside the new subject.
Merge: Removes hidden areas that are no longer part of the new piece and brings together objects that are touching and hold the same color.
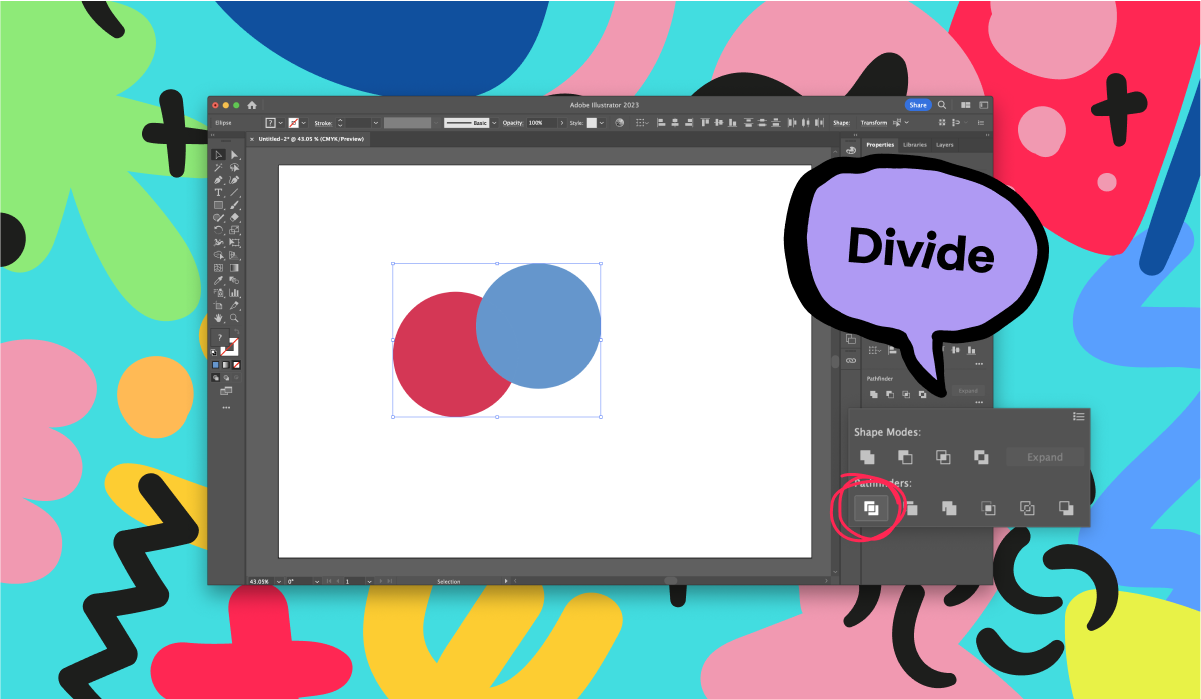
Divide: Moves objects apart and places them into specific sections.
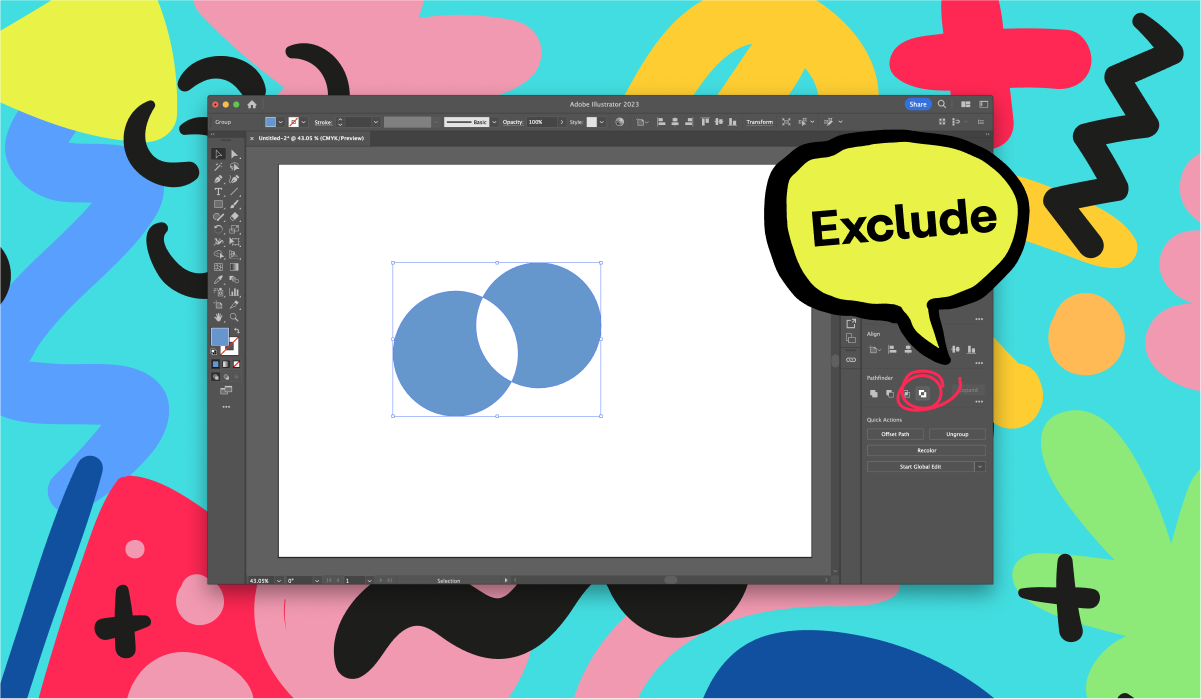
Exclude: Lets you trace parts that are not layered on one another and will allow for the overlapping areas to become clear.
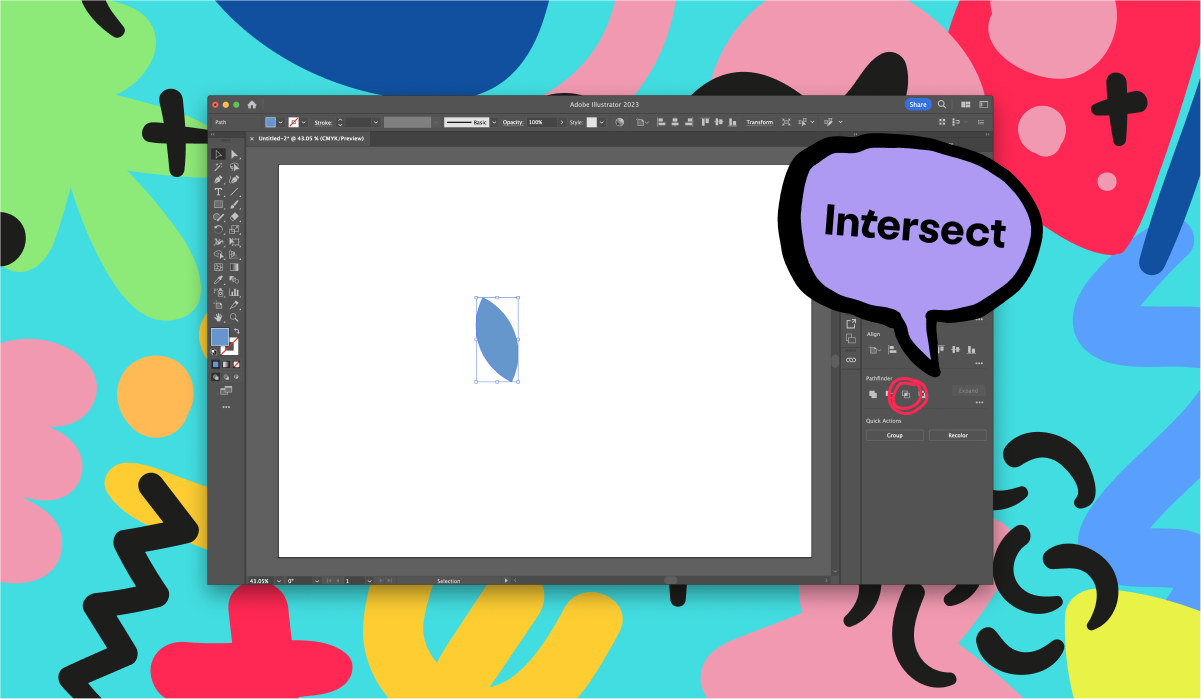
Intersect: Allows you to trace the outlines of the region which are hidden by other subjects.
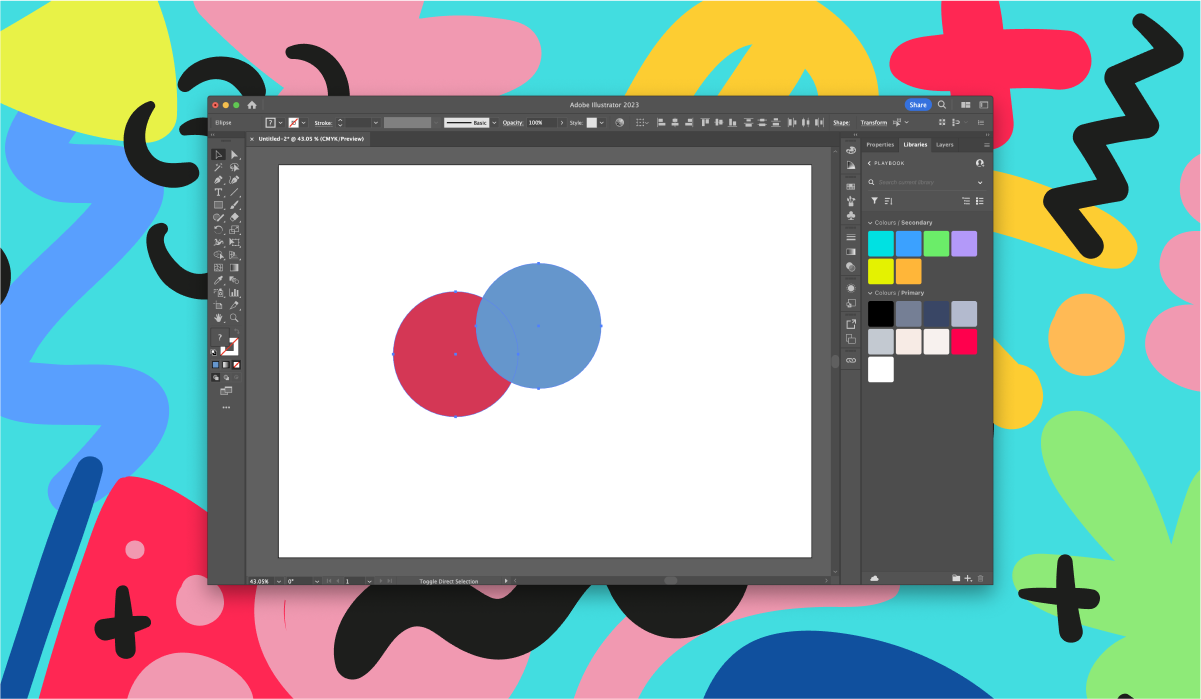
3. Creating Compound Shapes
Compound shapes let you combine multiple objects and specify how you want each one to interact with the other shapes. There are four interaction options:
- Add
- Subtract
- Intersect
- Exclude
The underlying objects don’t change, so you can select each object within a compound shape to edit it or change its interaction mode. To create a compound shape in Illustrator, use the following steps:
Step 1: Open Adobe Illustrator and create or import the shapes you want to combine.
Step 2: Select all the shapes you want to combine by clicking and dragging the mouse cursor over them or by holding down Shift and clicking on each shape.
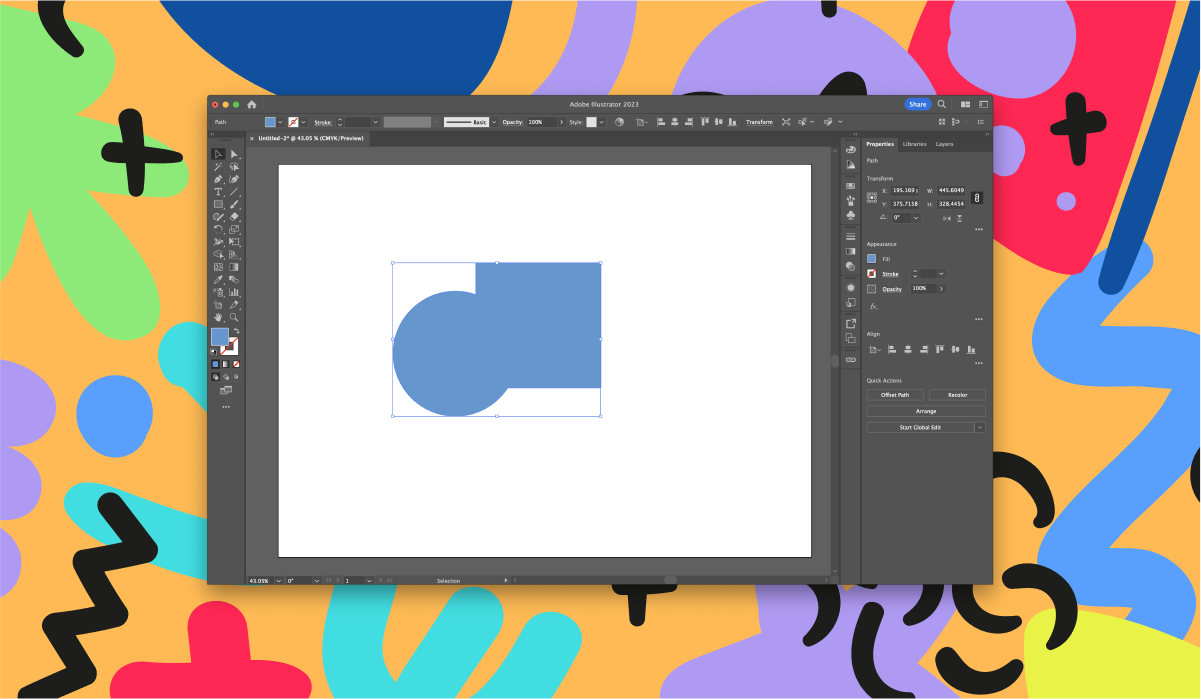
Step 3: Go to the Pathfinder panel by selecting Window > Pathfinder. In the Pathfinder panel, click the Unite button to merge the selected shapes into a single compound shape.
Once you click the Unite button, the individual shapes will merge into a new compound shape. You can adjust the properties of the compound shape, such as its color, stroke, or fill, using the Properties panel on the right-hand side of the screen.
Step 4: To edit the individual shapes within the compound shape, use the Direct Selection Tool or Group Selection Tool to select and modify each shape.

Bonus technique: Custom Shaper Eraser
A slightly more advanced way to create custom shapes is to use the eraser tool. Once you’ve selected the shapes you want to overlap, you can use the eraser tool to create a custom image. To do this, use the following steps:
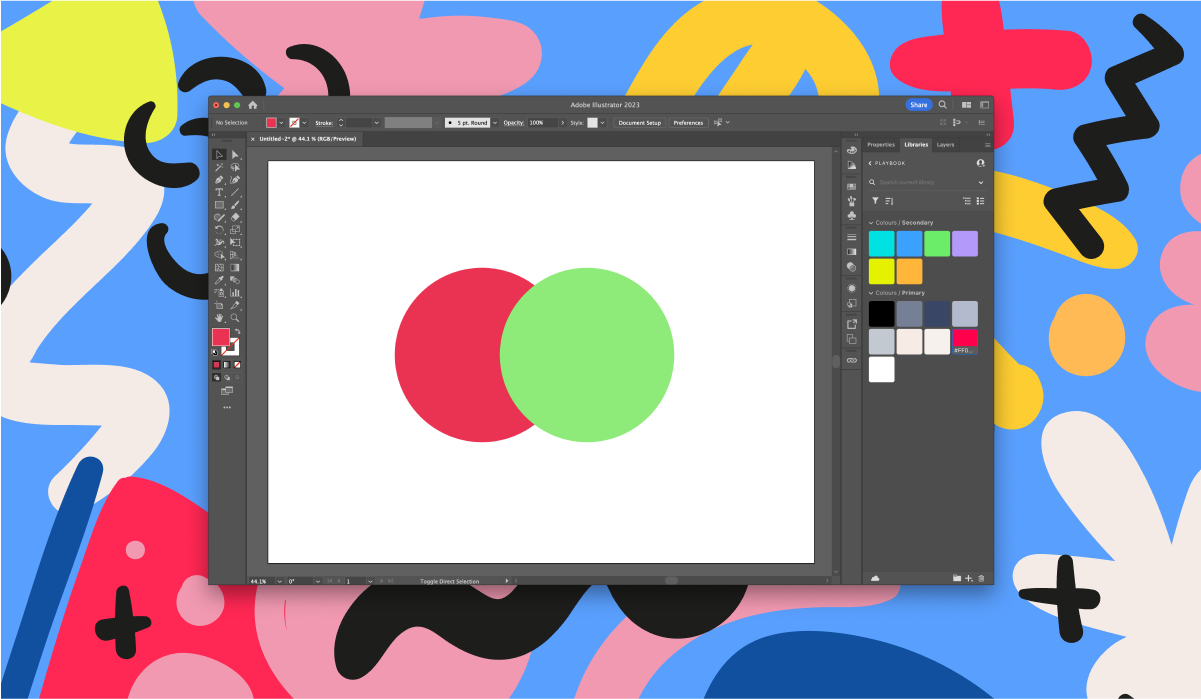
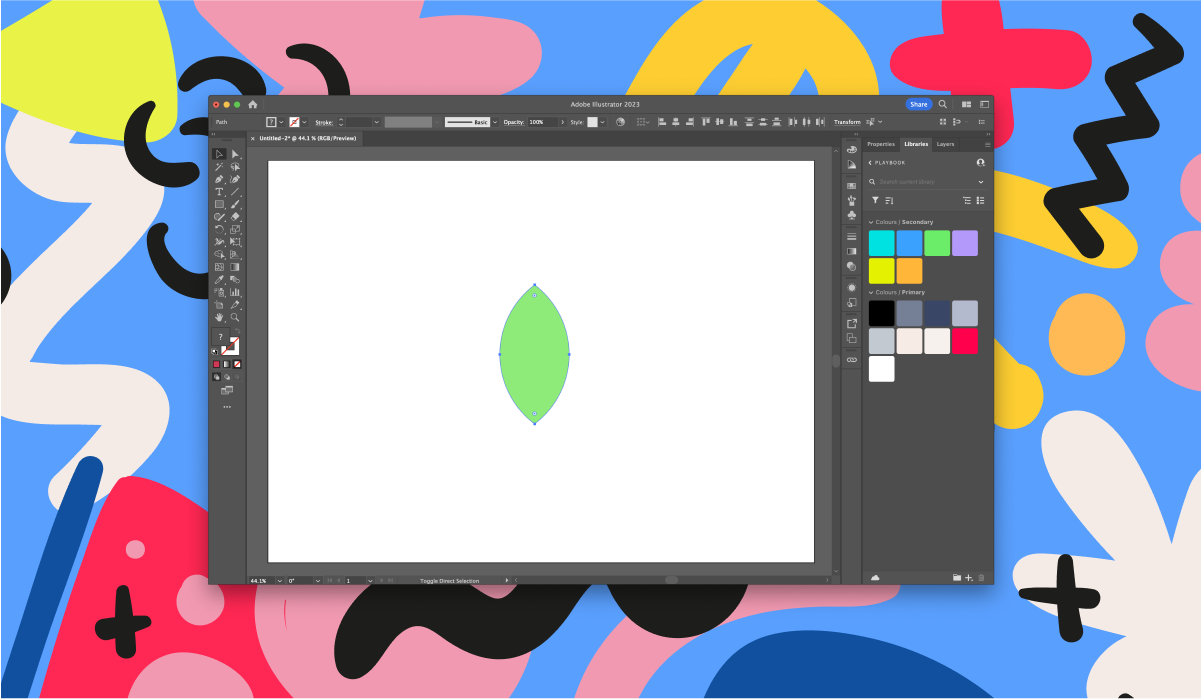
Step 1: Overlap two shapes, then grab and highlight them both. For example, to create a leaf shape, you create one circle, then duplicate it and move it to the right, so that the two circles are still overlapping. Like so:
Step 2: Click Shift + M, then hold down Alt (or Option on Mac), and erase parts of the shapes that aren’t overlapping to create a new shape.
Step 3: Press Shift + M again, hold down Alt (or Option), and you can erase the excess areas of the circles, leaving a leaf shape.
6 tips and tricks for merging shapes in Illustrator
Follow these best practices to ensure that your merged shapes are consistent and easy to work with while maintaining the integrity of your design.
1. Keep a copy of the original shapes
Always make a copy of the original shapes before merging them. This way, if you make a mistake or want to go back to the original shapes, you can do so easily.
2. Start with simple techniques and progress from there
When starting out, try to use tools that allow for easy modification. For example, instead of using Pathfinder to combine objects, use the Shape Builder tool or compound shapes, as they are non-destructive and can be modified more easily.
3. Maintain consistency
When merging shapes, make sure that the new shape is consistent with the design’s overall style and look. Avoid creating a shape that looks out of place or jarring.
4. Keep it simple
When merging shapes, try to keep the design simple by reducing the number of objects you use. This will help improve the design’s viewability and make it easier to work with.
5. Be mindful of anchor points
When merging shapes, be mindful of the anchor points. Too many anchor points can create unnecessary complexity and make the design difficult to modify. Try to keep the number of anchor points to a minimum while maintaining the desired shape.
6. Check for overlapping shapes
After merging your shapes, check for any overlapping or unwanted shapes that you may have created. You can do this using the Direct Selection Tool (A) to select the individual anchor points and paths.
Save your merged shape designs in a Playbook Portfolio
Like most aspects of design work, learning to merge shapes effectively using Illustrator takes time, patience, and a lot of practice. Keep going, and you’ll soon be creating beautiful, original designs with this technique.
Remember to save copies of all your merged shapes in a dedicated Playbook board so you can both reuse them in future projects and feature them in your portfolio.
